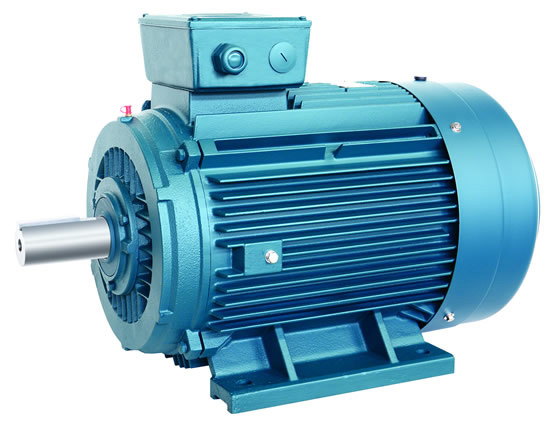
1. Disassemble the asynchronous motor
(1) Before disassembling the motor, the connection between the motor and the external electrical connection must be removed, and the phase marks must be made.
(2) Disassembly steps
a, pulley or coupling; b, front bearing cover; c, front end cover; d, fan cover; e, fan; f, rear bearing cover; g, rear end cover; h, extracting rotor; i, Front bearing; j, front bearing inner cover; k, rear bearing; l, rear bearing inner cover.
(3) Removal of pulley or coupling
Before disassembling, make a positioning mark on the shaft extension end of the pulley or coupling, and use a special positioning tool to slowly position the pulley or coupling. When pulling, pay attention to the force of the pulley or coupling. Make sure that the resultant force is along the axis direction, and the end of the puller must not damage the center hole of the rotor shaft end.
(4) Remove the end cover and extract the rotor
Before dismantling, mark the seam between the casing and the end cover (ie the stop) for reset. Remove the bearing cover and the end cover bolts evenly, take off the bearing cover, and then screw the two bolts into the two thread holes on the end cover, and turn the two bolts inward with even force (for the larger end cover, use a sling to fix the end cover first. hang up) and remove the end cap. (When there is no top wire hole, you can use a copper rod to tap symmetrically to remove the end cover, but avoid heavy knocking to avoid damage to the end cover.) For small motors, the rotor is extracted manually, in order to prevent hand slipping or uneven touch. To damage the windings, apply cardboard pads to the ends of the windings.
(5) Disassembly and cleaning of bearings
When disassembling the bearing, a suitable special puller should be used first. The pulling force should focus on the inner ring of the bearing, not the outer ring, and the top of the pulling tool should not damage the center hole of the rotor shaft end (you can add some lubricating grease). Before the bearing is disassembled, the bearing should be washed with cleaning agent to check whether it is damaged and whether it is necessary to replace it.

2. Assembling the asynchronous motor
(1) Blow out the dust inside the motor with compressed air, check the integrity of each part, clean the oil, etc.
(2) The steps of assembling the asynchronous motor are opposite to those of disassembling. Before assembling, check whether the dirt in the stator, whether the rust is removed, and whether there is any damage to the mouth. When assembling, the parts should be reset according to the marks, and the bearing cover should be checked for proper fit.
(3) The bearing assembly can use the hot sleeve method and the cold assembly method.
2. Matters needing attention
1. After removing and moving the motor, the gasket of the motor base should be placed and fixed according to the original position, so as not to increase the workload of the fitter.
2. When disassembling and installing the rotor, the requirements of the main points must be observed, and the windings must not be damaged. The winding insulation and winding paths should be tested before and after disassembly.
3. When dismantling and assembling, the parts should not be hit directly with a hammer, but copper, aluminum rods or hardwoods should be padded and tapped symmetrically.
4. Before installing the end cover, apply thick copper wire, extend from the bearing assembly hole to hook the inner bearing cover, so as to assemble the outer bearing cover.
5. When the bearing is installed by the heat sleeve method, as long as the temperature exceeds 100 degrees, the heating should be stopped, and a 1211 fire extinguisher should be placed at the work site.
6. The cleaning agent (gas, kerosene) for cleaning the motor and bearing is not allowed to be thrown randomly, and must be poured into the dirty oil well.
7. The maintenance site needs to be cleaned.
Post time: 2022-02-22


